# cool-admin [vue2]

cool-admin 一个很酷的后台权限管理系统,开源免费,模块化、插件化、极速开发 CRUD,方便快速构建迭代后台管理系统, 到论坛 进一步了解


## 地址
- [⚡️ vue2.x + element-ui](https://github.com/cool-team-official/cool-admin-vue)
- [⚡️ vue3.x + element-plus + ts + webpack](https://github.com/cool-team-official/cool-admin-vue/tree/vue3-ts-webpack)
- [📌 vue3.x + element-plus + ts + vite](https://github.com/cool-team-official/cool-admin-vue/tree/vue3-ts-vite)
- [🌐 码云仓库地址](https://gitee.com/cool-team-official/cool-admin-vue)
## 演示
[https://show.cool-admin.com](https://show.cool-admin.com)
账户:admin,密码:123456
 ## 项目后端
[https://github.com/cool-team-official/cool-admin-midway](https://github.com/cool-team-official/cool-admin-midway)
## 微信群
 ## 微信公众号
 ## 在线社区
[https://bbs.cool-js.com/](https://bbs.cool-js.com/)
## 使用条件
请确保您的操作系统上安装了 Node.js(> = 8.9.0)、@vue/cli (> 3.0.0)。
## 安装项目依赖
推荐使用 `yarn`:
```shell
yarn
```
解决 `node-sass` 网络慢的方法:
```shell
yarn config set sass-binary-site http://npm.taobao.org/mirrors/node-sass
```
## 运行应用程序
安装过程完成后,运行以下命令启动服务。您可以在浏览器中预览网站 [http://localhost:9000](http://localhost:9000)
```shell
yarn serve
```
## 极速 CRUD
1. `vscode` 编辑器下输入关键字 `cl-crud`,会生成对应的模板代码:
```html
```
2. 编辑数据表格 `cl-table`:
```js
{
table: {
// 参数与 el-table-column 一致,并支持许多骚操作
columns: [
// 多选列
{
type: "selection",
width: 60
},
// 自定义列
{
label: "昵称",
prop: "name"
},
{
label: "账户",
prop: "price",
sortable: "custom" // 是否添加排序
},
{
label: "状态",
prop: "status",
// 字典匹配,使用 el-tag 展示
dict: [
{
label: "启用",
value: 1,
type: "primary"
},
{
label: "禁用",
value: 0,
type: "danger"
}
]
},
{
label: "创建时间",
prop: "createTime"
},
// 操作按钮列,默认包含:编辑、删除
{
type: "op"
}
];
}
}
```
3. 编辑新增、编辑表单 `cl-upsert`:
```js
{
upsert: {
items: [
{
label: "昵称",
prop: "name",
// 参数与 el-form-item 一致
props: {},
value: "神仙都没用", // 昵称默认值
// 渲染参数,支持 slot, 组件实例,jsx
component: {
name: "el-input", // 可以是任意已注册的组件名
props: {}, // 组件的参数
on: {} // 组件的回调事件
},
// 验证规则,与 el-form 一致
rules: {
required: true,
message: "昵称不呢为空"
}
},
{
label: "存款",
prop: "price",
component: {
name: "el-input-number",
props: {
min: 0,
max: 10000
}
}
},
{
label: "状态",
prop: "status",
value: 1,
component: {
name: "el-radio-group",
options: [
{
label: "启用",
value: 1
},
{
label: "禁用",
value: 0
}
]
}
}
];
}
}
```
4. 绑定 `service`。在 `src/service/` 下新建文件 `test.js`,并编辑:
```js
// src/service/test.js
import { BaseService, Service, Permission } from "cl-admin";
// 请求接口的路径
@Service("test")
class Test extends BaseService {
// 继承 BaseService 后,拥有 page, list, add, delete, update, info 6个基本接口
// 自定义其他接口
@Permission("product") // 权限装饰器,可选
product(id) {
// this.request() 参数与 axios 一致
return this.request({
url: "/product",
method: "POST",
data: {
id
}
});
}
}
export default Test;
```
在 `src/service/` 下的文件,框架会自动根据 `目录结构` 和 `文件名称` 格式化成对应的 `$service` 对象。你现在可以这么使用它:
```js
this.$service.test.page({ page: 1 });
this.$service.test.product(1);
```
`service` 编写好后,我们把它绑定在 `crud` 上:
```js
export default {
methods: {
onLoad({ ctx, app }) {
// 绑定 service,这边指定到 test 即可
ctx.service(this.$service.test).done();
// 发起 page 请求
app.refresh({
// 请求默认参数
});
}
}
};
```
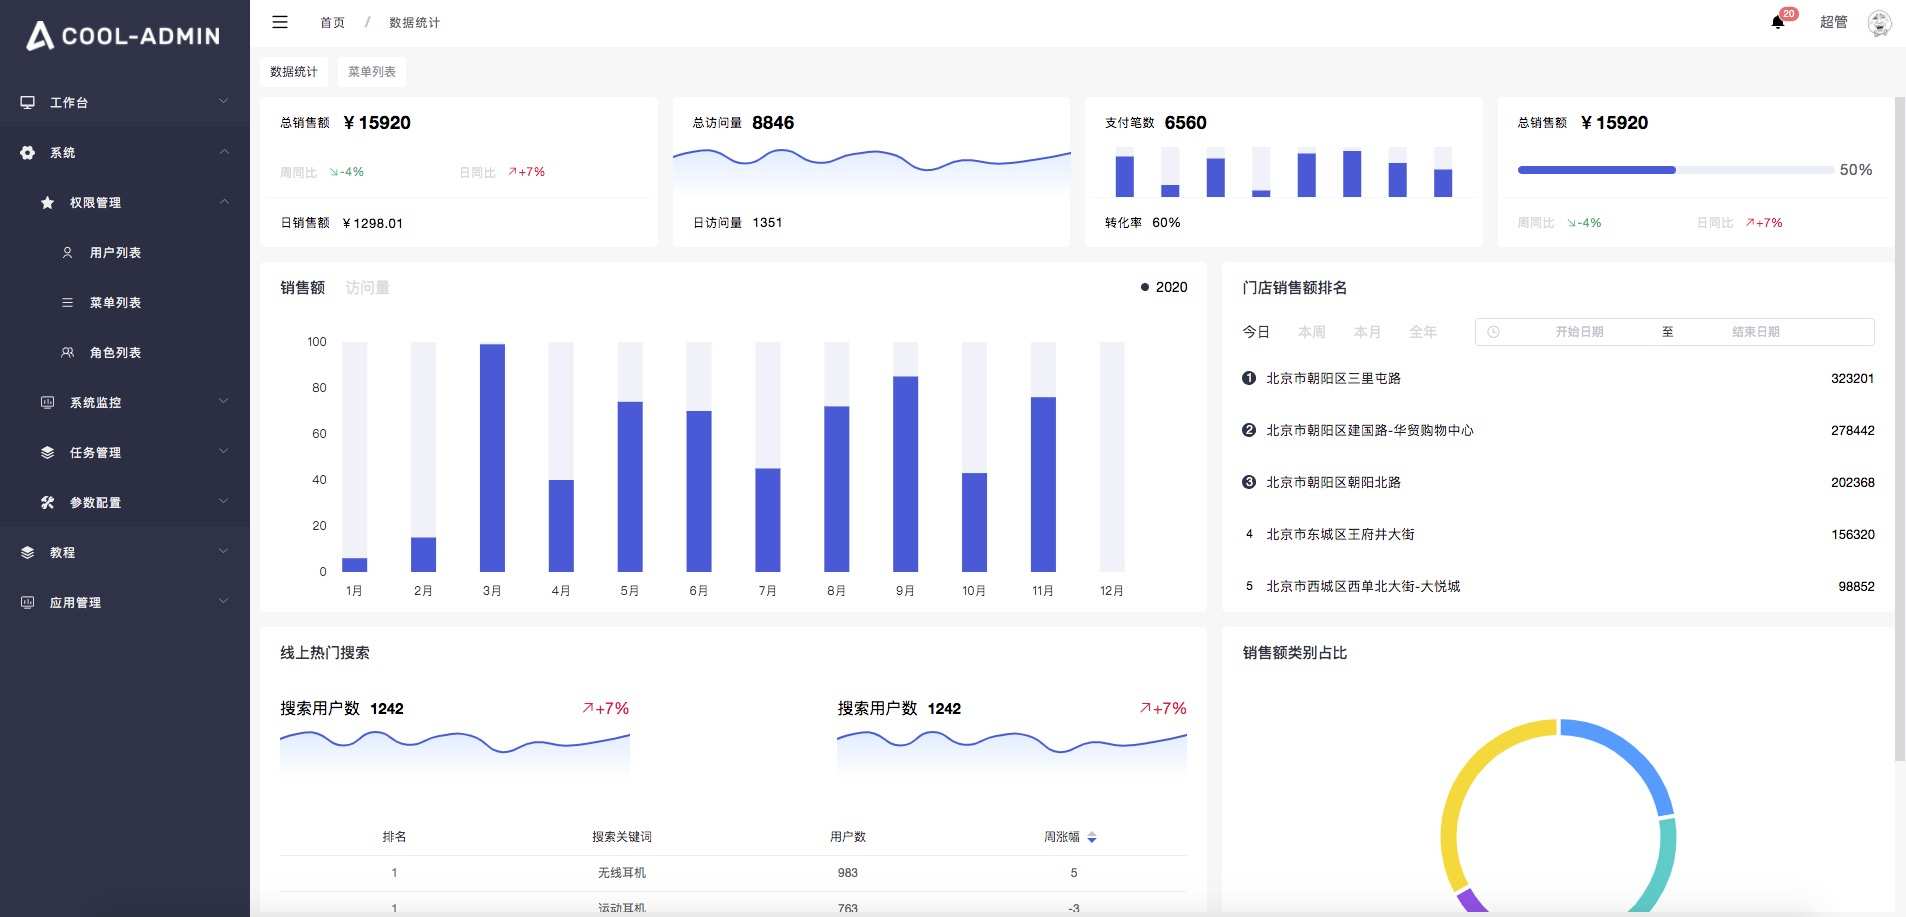
5. 效果预览

## 在线社区
[https://bbs.cool-js.com/](https://bbs.cool-js.com/)
## 使用条件
请确保您的操作系统上安装了 Node.js(> = 8.9.0)、@vue/cli (> 3.0.0)。
## 安装项目依赖
推荐使用 `yarn`:
```shell
yarn
```
解决 `node-sass` 网络慢的方法:
```shell
yarn config set sass-binary-site http://npm.taobao.org/mirrors/node-sass
```
## 运行应用程序
安装过程完成后,运行以下命令启动服务。您可以在浏览器中预览网站 [http://localhost:9000](http://localhost:9000)
```shell
yarn serve
```
## 极速 CRUD
1. `vscode` 编辑器下输入关键字 `cl-crud`,会生成对应的模板代码:
```html
```
2. 编辑数据表格 `cl-table`:
```js
{
table: {
// 参数与 el-table-column 一致,并支持许多骚操作
columns: [
// 多选列
{
type: "selection",
width: 60
},
// 自定义列
{
label: "昵称",
prop: "name"
},
{
label: "账户",
prop: "price",
sortable: "custom" // 是否添加排序
},
{
label: "状态",
prop: "status",
// 字典匹配,使用 el-tag 展示
dict: [
{
label: "启用",
value: 1,
type: "primary"
},
{
label: "禁用",
value: 0,
type: "danger"
}
]
},
{
label: "创建时间",
prop: "createTime"
},
// 操作按钮列,默认包含:编辑、删除
{
type: "op"
}
];
}
}
```
3. 编辑新增、编辑表单 `cl-upsert`:
```js
{
upsert: {
items: [
{
label: "昵称",
prop: "name",
// 参数与 el-form-item 一致
props: {},
value: "神仙都没用", // 昵称默认值
// 渲染参数,支持 slot, 组件实例,jsx
component: {
name: "el-input", // 可以是任意已注册的组件名
props: {}, // 组件的参数
on: {} // 组件的回调事件
},
// 验证规则,与 el-form 一致
rules: {
required: true,
message: "昵称不呢为空"
}
},
{
label: "存款",
prop: "price",
component: {
name: "el-input-number",
props: {
min: 0,
max: 10000
}
}
},
{
label: "状态",
prop: "status",
value: 1,
component: {
name: "el-radio-group",
options: [
{
label: "启用",
value: 1
},
{
label: "禁用",
value: 0
}
]
}
}
];
}
}
```
4. 绑定 `service`。在 `src/service/` 下新建文件 `test.js`,并编辑:
```js
// src/service/test.js
import { BaseService, Service, Permission } from "cl-admin";
// 请求接口的路径
@Service("test")
class Test extends BaseService {
// 继承 BaseService 后,拥有 page, list, add, delete, update, info 6个基本接口
// 自定义其他接口
@Permission("product") // 权限装饰器,可选
product(id) {
// this.request() 参数与 axios 一致
return this.request({
url: "/product",
method: "POST",
data: {
id
}
});
}
}
export default Test;
```
在 `src/service/` 下的文件,框架会自动根据 `目录结构` 和 `文件名称` 格式化成对应的 `$service` 对象。你现在可以这么使用它:
```js
this.$service.test.page({ page: 1 });
this.$service.test.product(1);
```
`service` 编写好后,我们把它绑定在 `crud` 上:
```js
export default {
methods: {
onLoad({ ctx, app }) {
// 绑定 service,这边指定到 test 即可
ctx.service(this.$service.test).done();
// 发起 page 请求
app.refresh({
// 请求默认参数
});
}
}
};
```
5. 效果预览


 ## 项目后端
[https://github.com/cool-team-official/cool-admin-midway](https://github.com/cool-team-official/cool-admin-midway)
## 微信群
 ## 微信公众号
 ## 在线社区
[https://bbs.cool-js.com/](https://bbs.cool-js.com/)
## 使用条件
请确保您的操作系统上安装了 Node.js(> = 8.9.0)、@vue/cli (> 3.0.0)。
## 安装项目依赖
推荐使用 `yarn`:
```shell
yarn
```
解决 `node-sass` 网络慢的方法:
```shell
yarn config set sass-binary-site http://npm.taobao.org/mirrors/node-sass
```
## 运行应用程序
安装过程完成后,运行以下命令启动服务。您可以在浏览器中预览网站 [http://localhost:9000](http://localhost:9000)
```shell
yarn serve
```
## 极速 CRUD
1. `vscode` 编辑器下输入关键字 `cl-crud`,会生成对应的模板代码:
```html